Apache 2.2.17
Php 5.3.5, Mysql 5.5.8
PhpMyadmin 3.2.0.1
SQLBuddy 1.3.2
XDebug 2.1.0-5.3
webGrind 1.0
XDC 1.5
Don't forget to subscribe to stay updated to our design news! Also take a minute to share this post with others using Social Bookmarks.
For now we will use only Apache and PHP, followed by MySQL and phpmyadmin.
Step 1 Klik double icon wampServer and klik next
Step 2 Klik I accept the agreement
Step 3 Klik Next
Step 4 Klik Next
Step 5 Klik Install
Step 6 Wait to proces instal
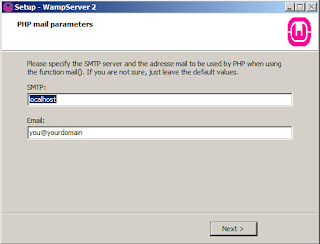
Step 7 Klik Next
Step 8 Klik Finish
Step 9 Now that the WAMP server it's installed we have to verify if it works properly. To do that open in a web browser the next address http://localhost/
This was the process of installing WAMP server. In the next lesson we will show you how to work with this server: "where we hold the files", "how to access them" are only two titles in the following lesson.


Tidak ada komentar:
Posting Komentar